> ## Documentation Index
> Fetch the complete documentation index at: https://docs-cerberus.c7-security.com/llms.txt
> Use this file to discover all available pages before exploring further.
# Scope and Recon
> Scope and recon tab introduction
# Scope and Recon
Recon is where every pentest begins. Before you start throwing exploits at a target, you need to know what you're working with - what's exposed, how things connect, where the attack surface actually is. Skip this step and you'll waste time testing the wrong things or miss obvious entry points entirely.
The best pentesters spend more time on recon than on exploitation. A well-mapped target often reveals vulnerabilities on its own: forgotten subdomains, exposed admin panels, services that shouldn't be public. The more complete your picture, the better your attacks.
The **Scope and Recon** tab is where you build that picture. It's your home base for managing what we call "context" - the map of assets you're testing, vulnerabilities you've found, and attacks that got blocked. As you run tests, this updates in real time. It's also where you interact with the IDE and AutoPT.
Three subtabs live here:
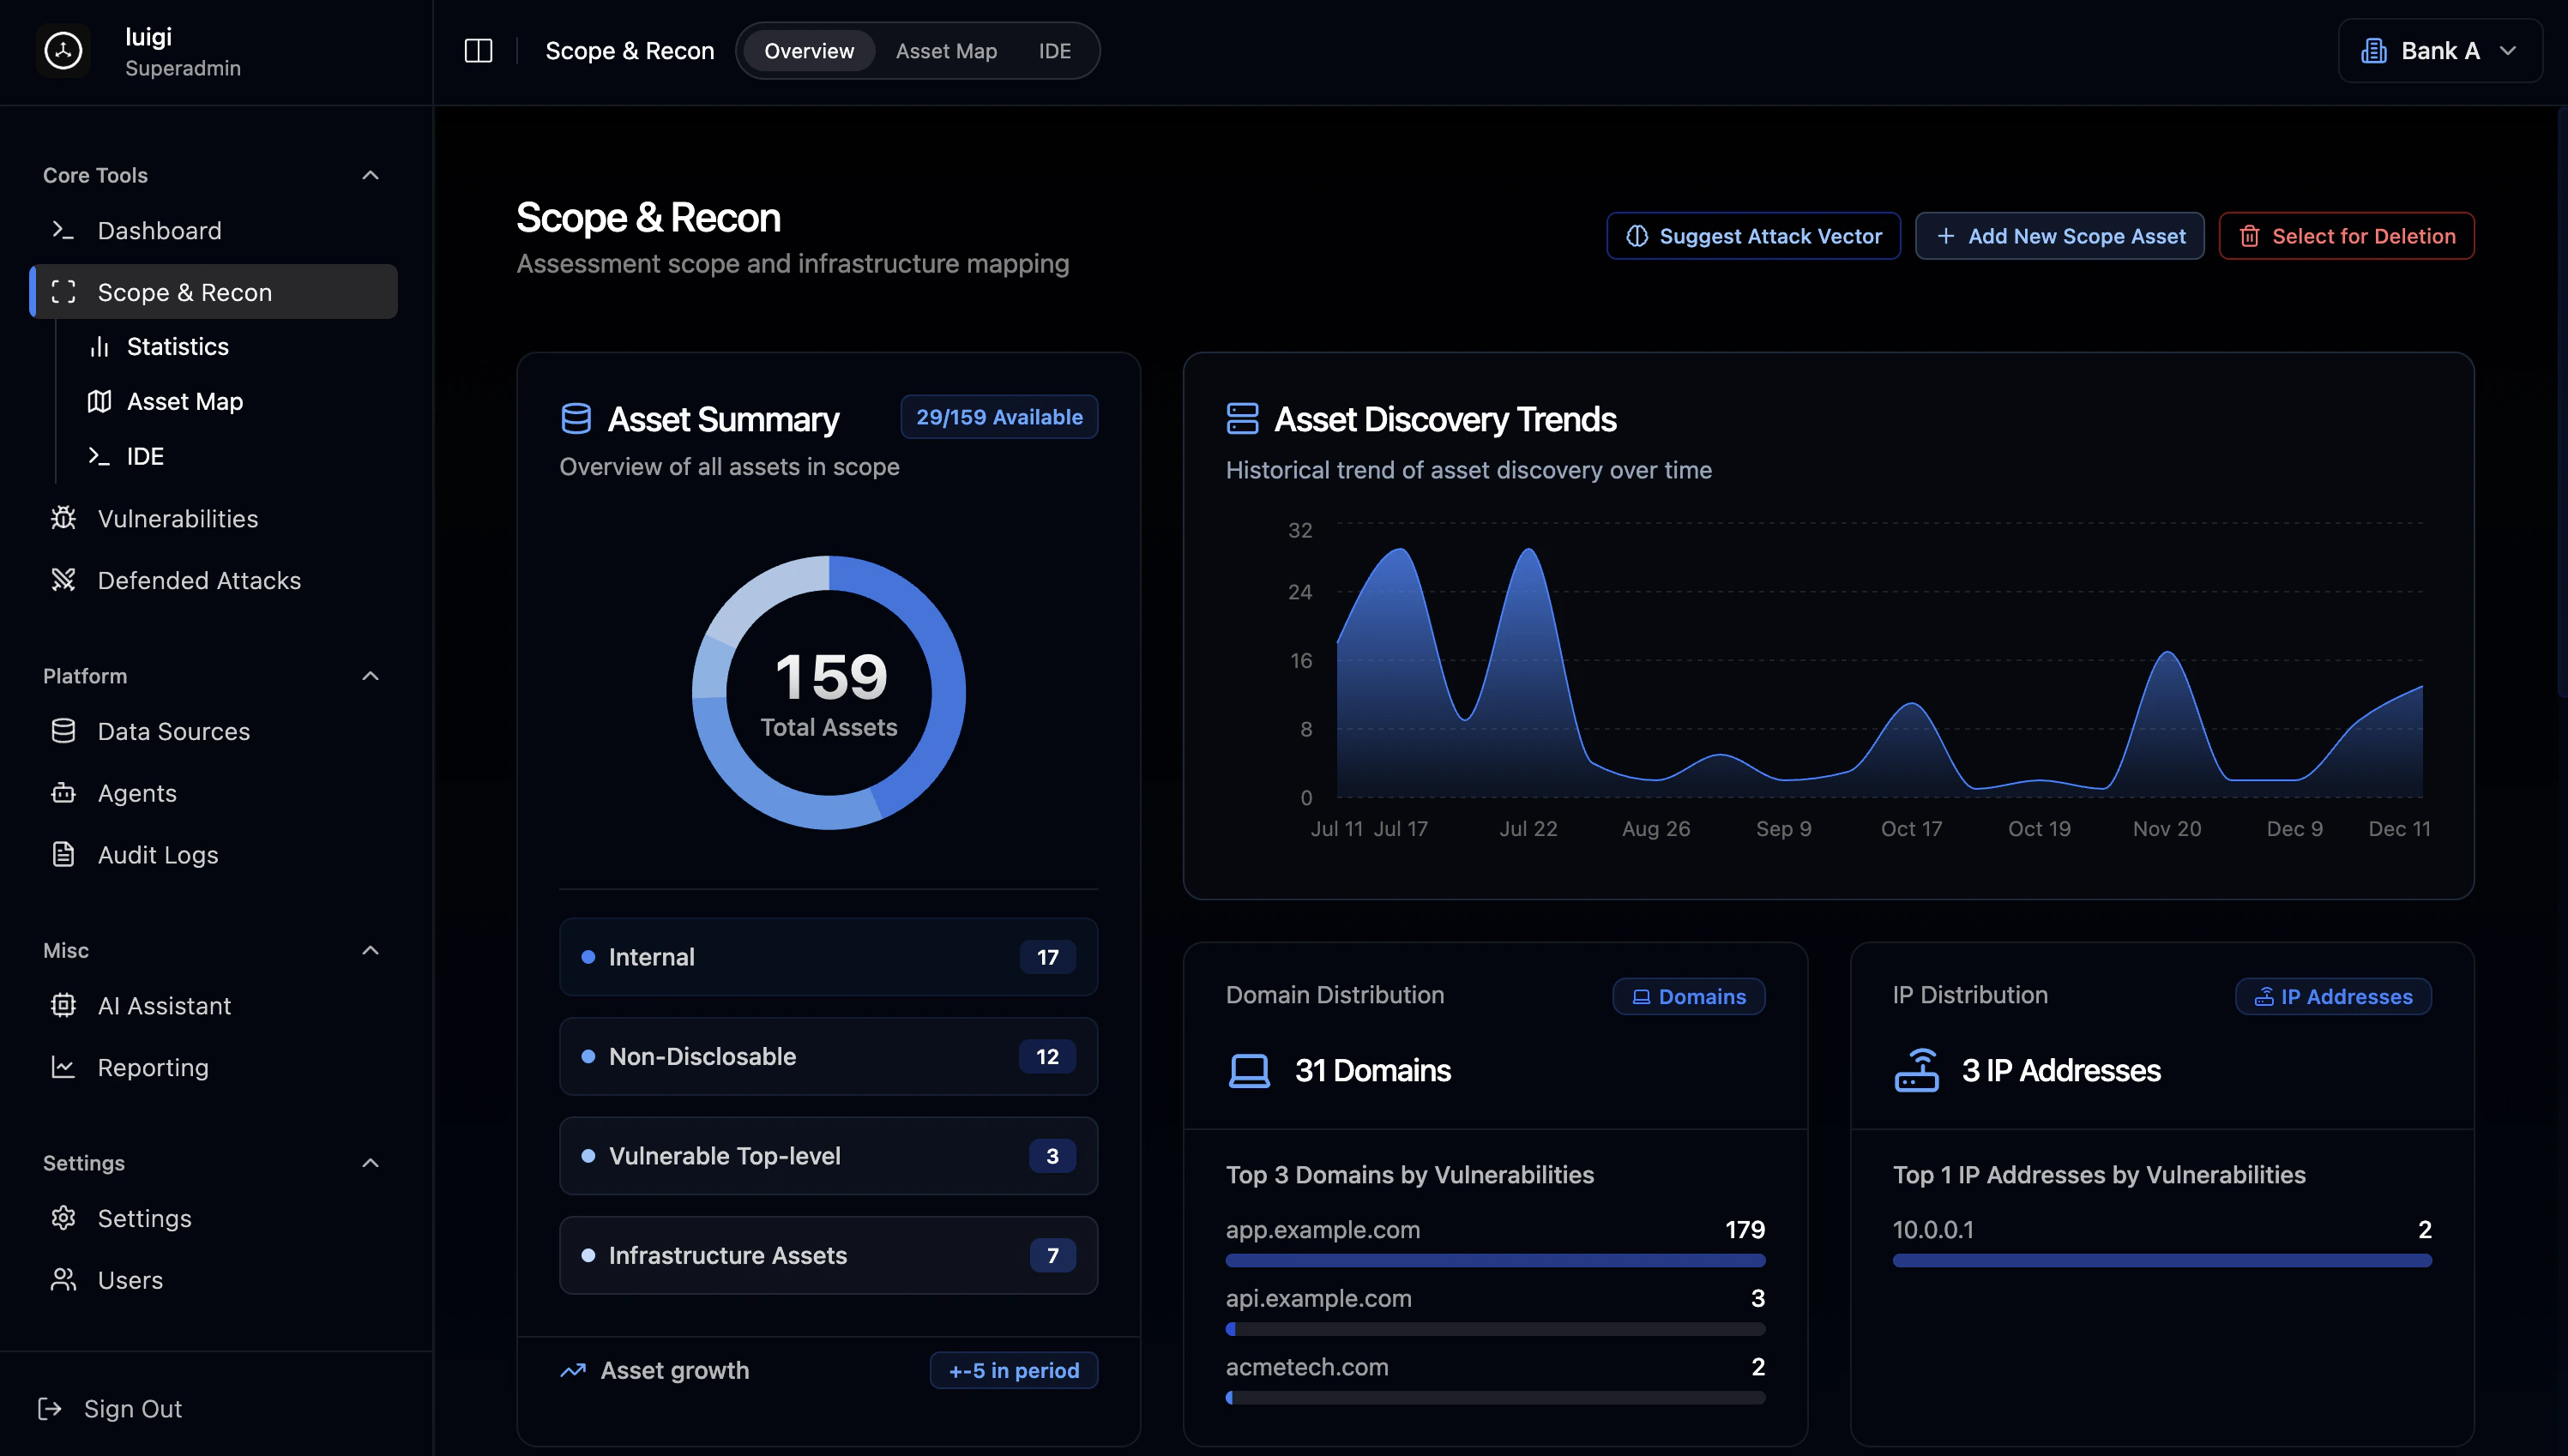
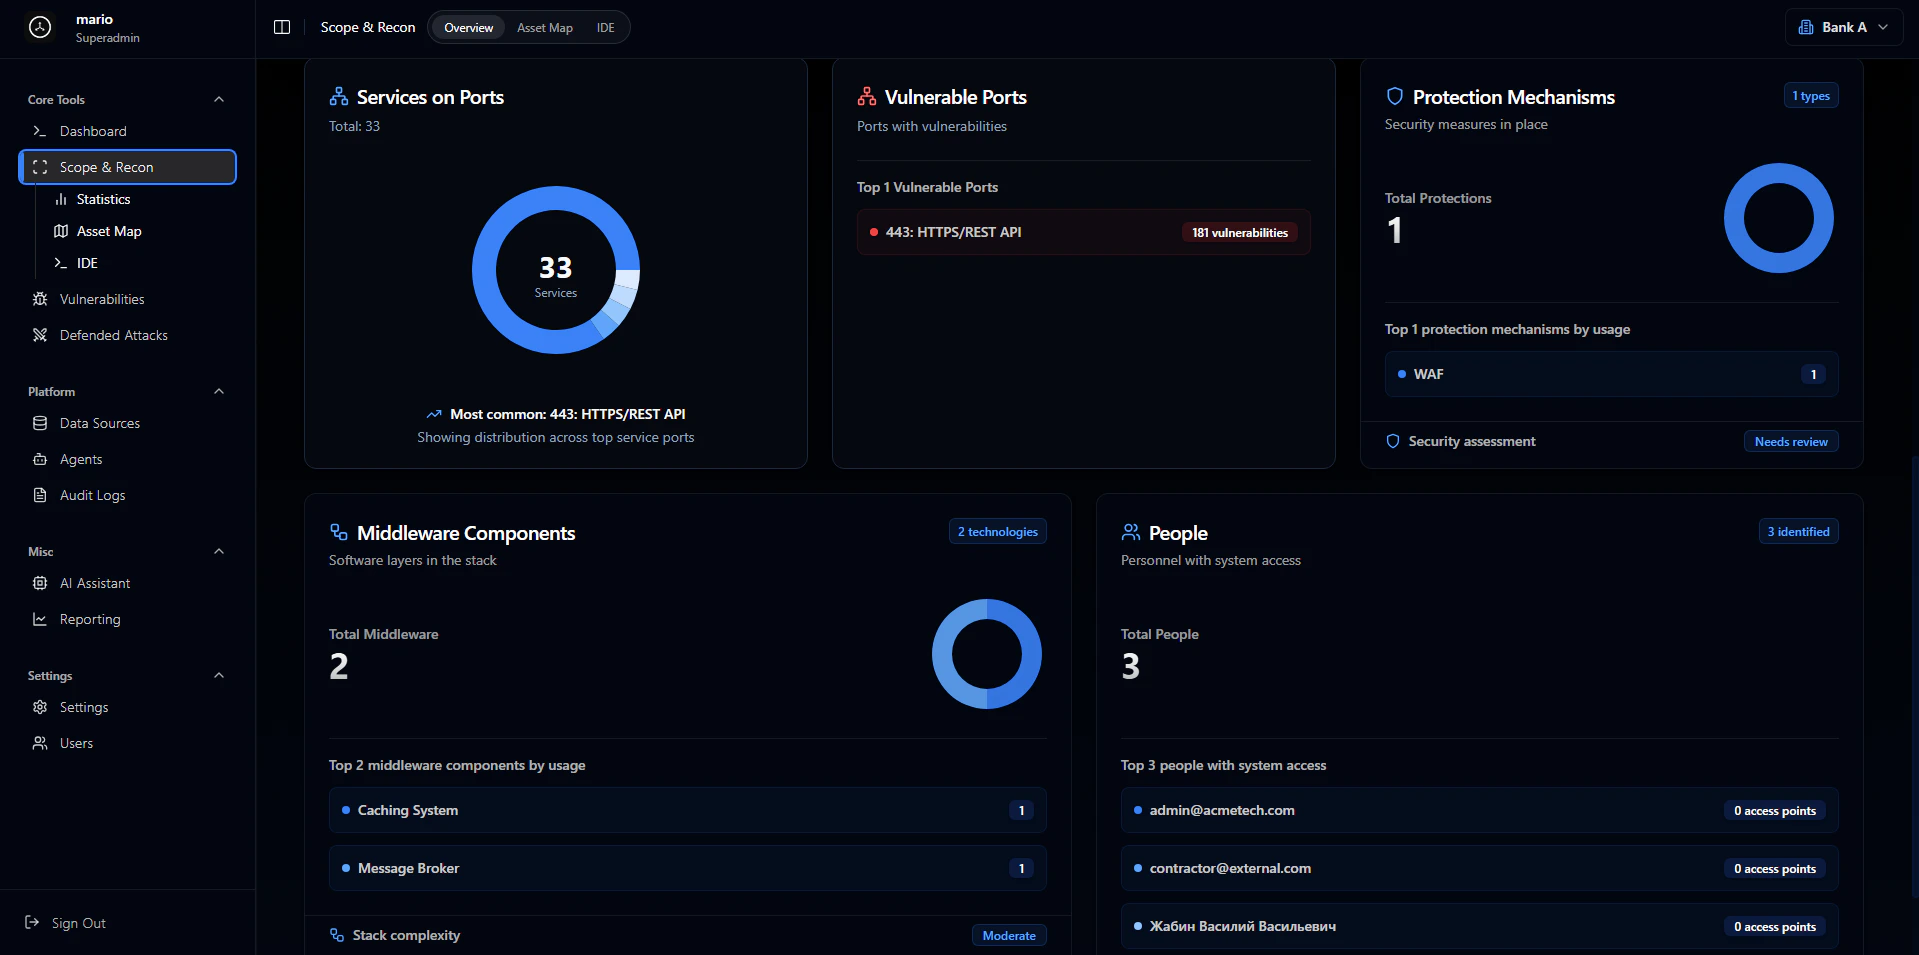
## Overview
Shows high-level stats about your context: total assets, vulnerabilities found, defended attacks, and so on.
 ## Asset map
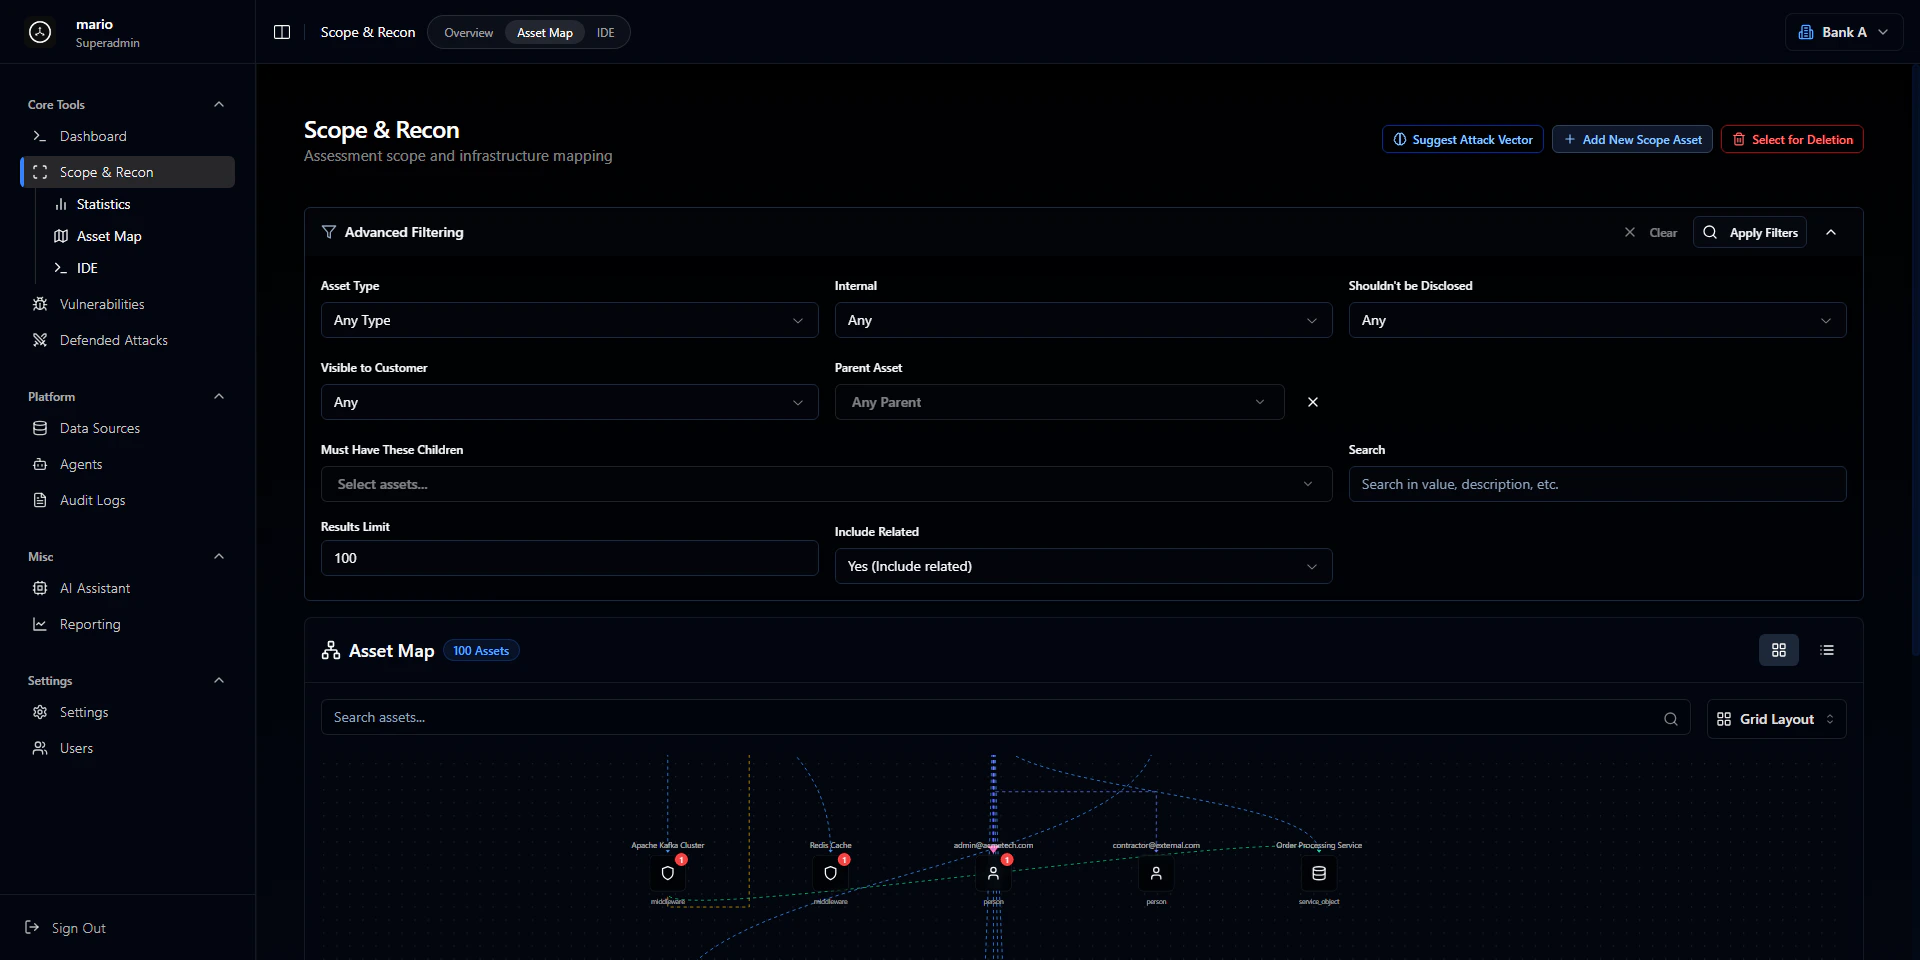
The asset map visualizes your targets and how they relate to each other. You can see which assets have vulnerabilities and how everything connects.
A search bar at the top lets you filter assets with various options.
## Asset map
The asset map visualizes your targets and how they relate to each other. You can see which assets have vulnerabilities and how everything connects.
A search bar at the top lets you filter assets with various options.
 Below that is the map itself, which has two modes:
**1. Graph view**
Below that is the map itself, which has two modes:
**1. Graph view**
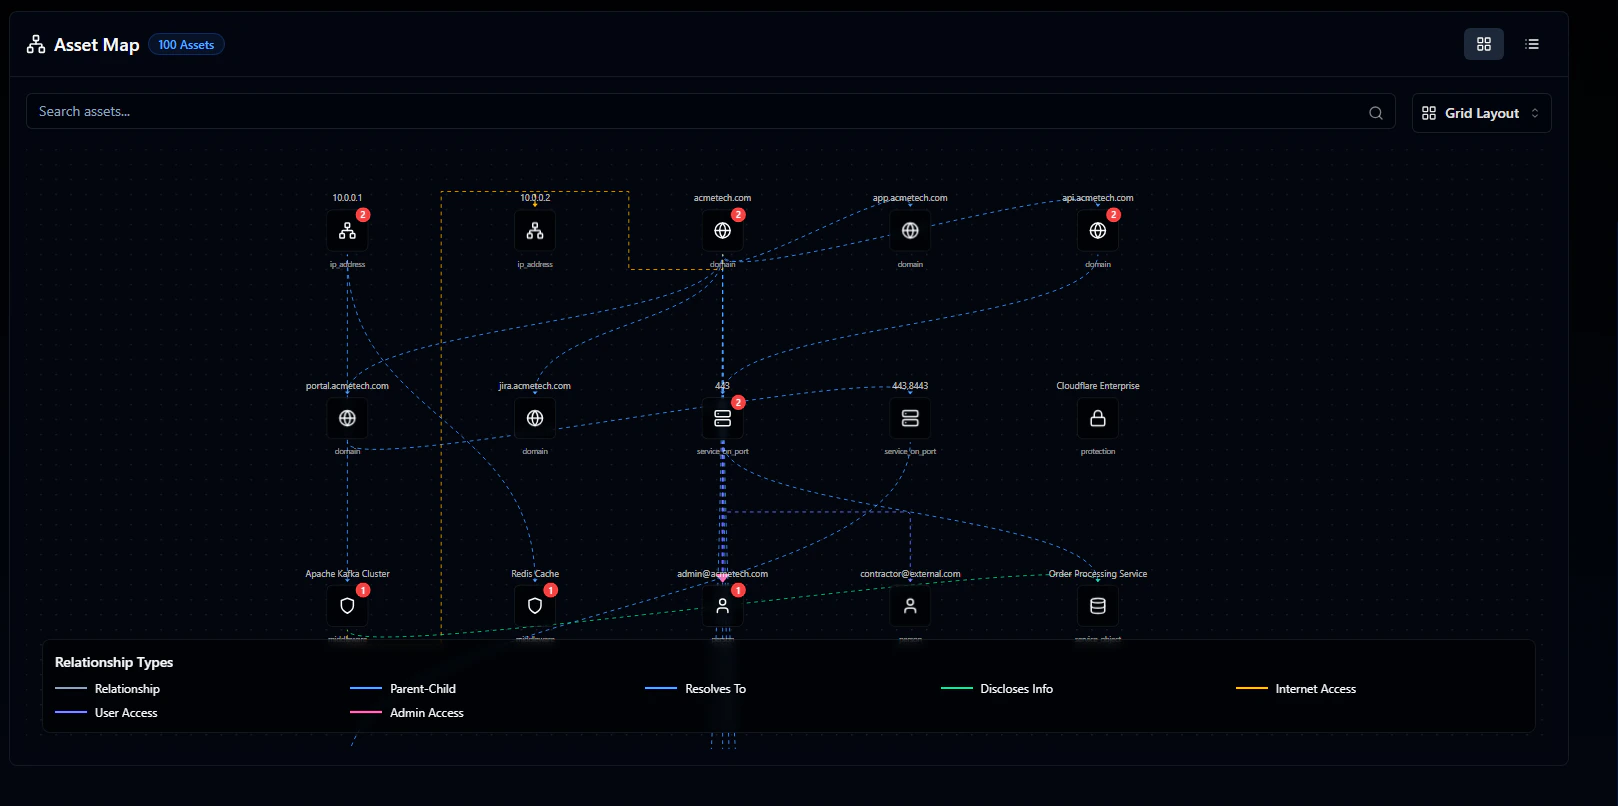 Graph view has three layout options: Grid (shown above), Hierarchical Tree, and Sankey/Flow. Switch between them using the layout selector in the top right corner.
**2. List view**
Graph view has three layout options: Grid (shown above), Hierarchical Tree, and Sankey/Flow. Switch between them using the layout selector in the top right corner.
**2. List view**
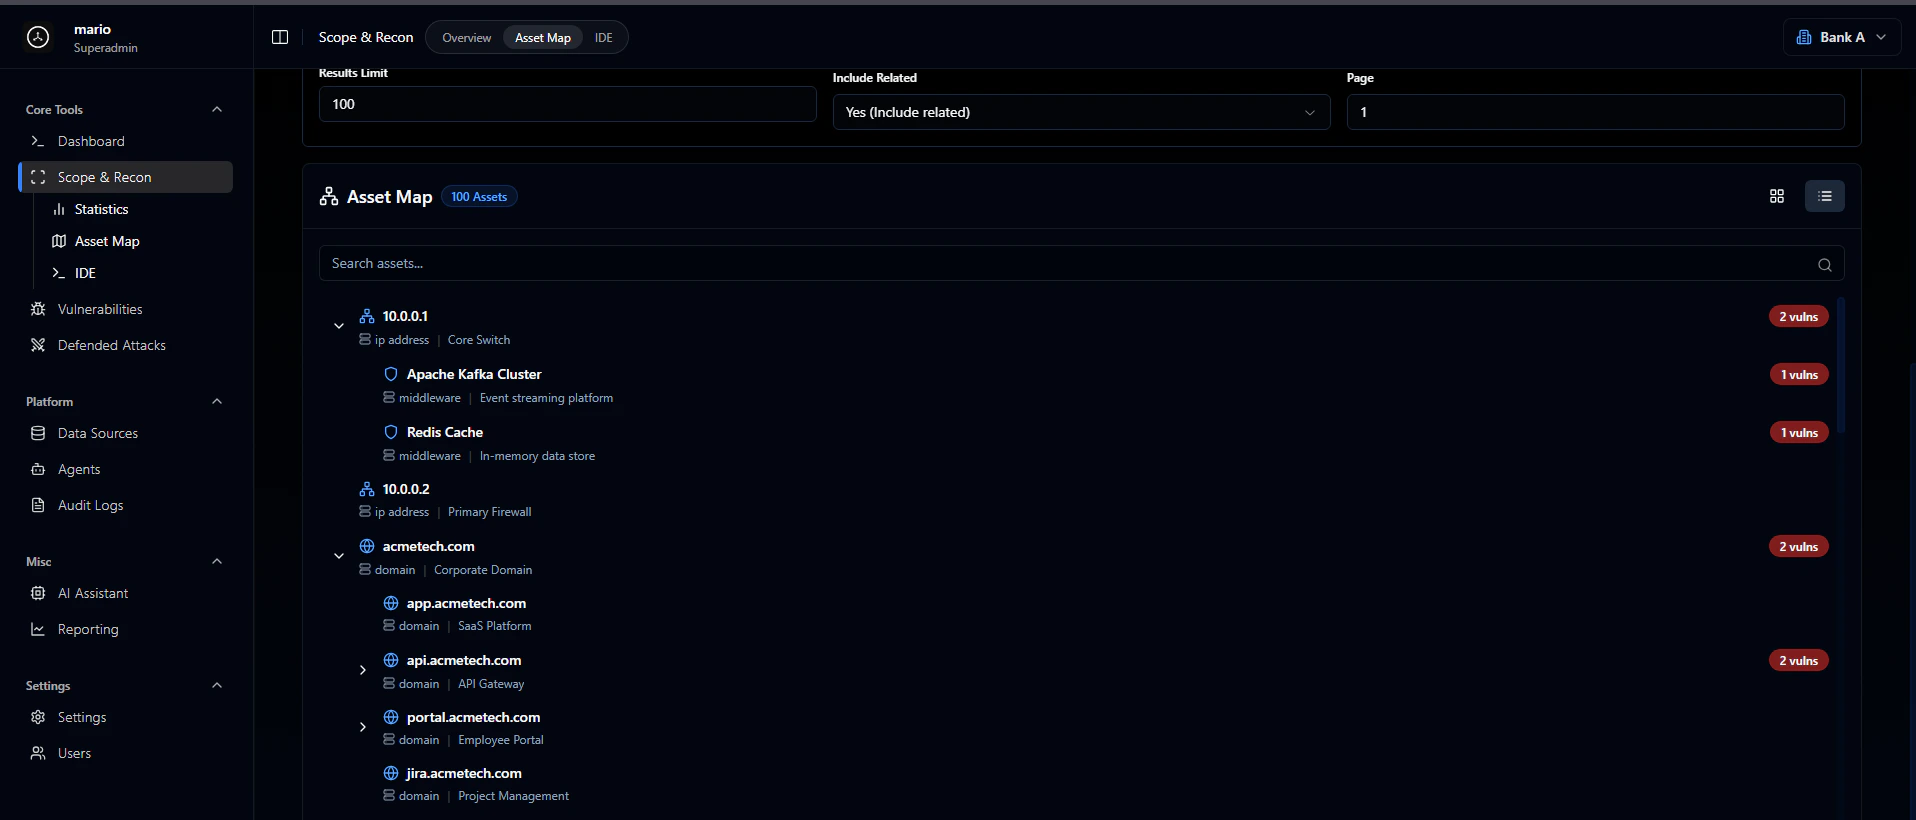 Toggle between graph and list view using the mode selector in the top right corner of the asset map.
## IDE
The IDE is where you interact with AutoPT and Codegen to run code against your targets.
Toggle between graph and list view using the mode selector in the top right corner of the asset map.
## IDE
The IDE is where you interact with AutoPT and Codegen to run code against your targets.
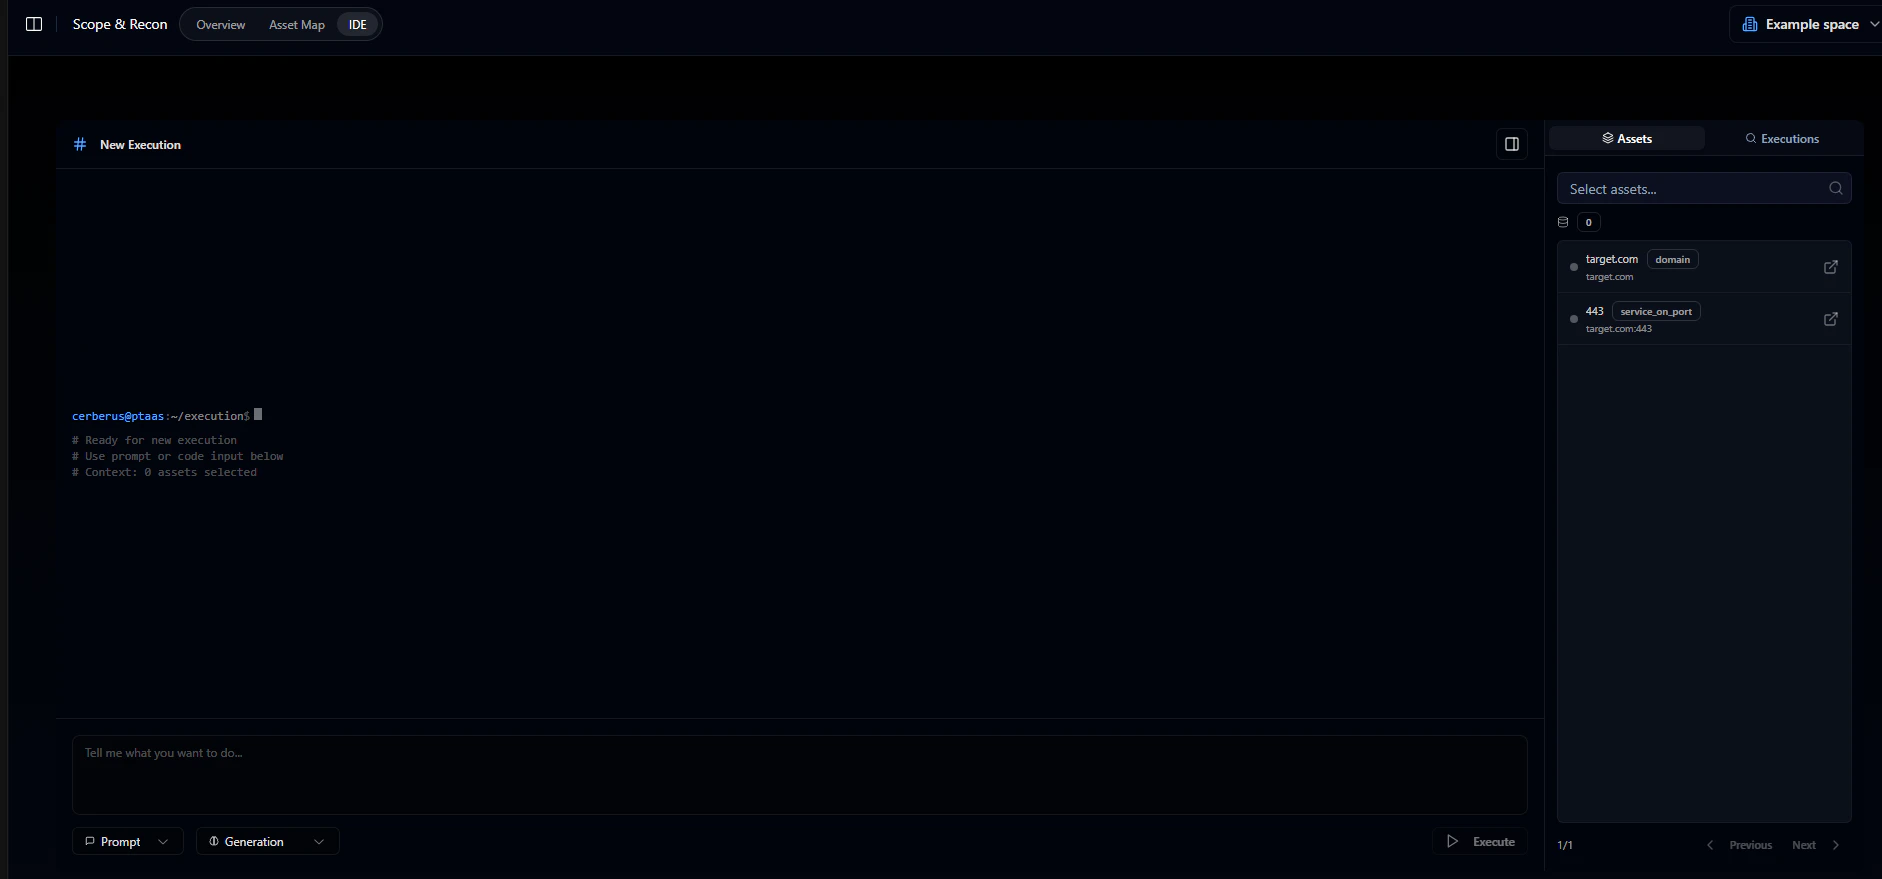 The right panel shows available assets - click them to add to your prompt. The Executions tab lists all previous runs.
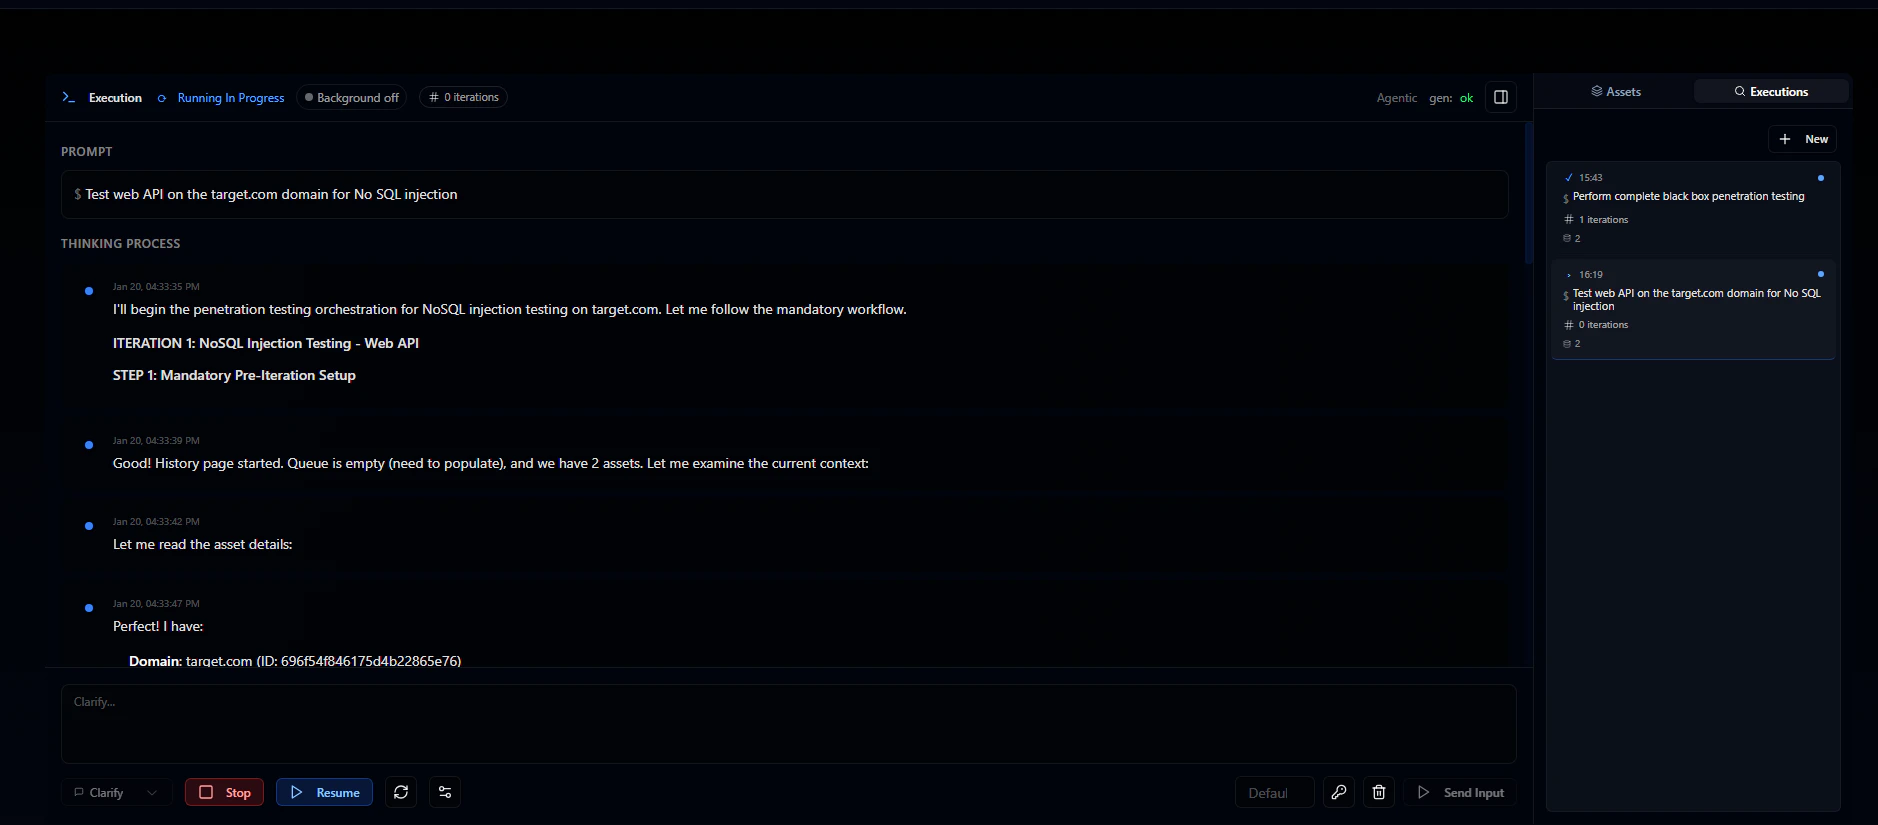 Click any execution in the list to see its details. More details about the execution you can find in the **Starting your first pentest** guide.