> ## Documentation Index
> Fetch the complete documentation index at: https://docs-cerberus.c7-security.com/llms.txt
> Use this file to discover all available pages before exploring further.
# Pentesting
> The Pentesting section - manage your scope, explore the asset map, and run tests from the IDE.
# Pentesting
Every pentest begins here. Before you throw exploits at a target, you need to know what you're working with: what's exposed, how things connect, where the attack surface actually is. Skip this step and you'll waste time testing the wrong things, or miss obvious entry points entirely.
The best pentesters spend more time on recon than on exploitation. A well-mapped target often gives up vulnerabilities on its own - forgotten subdomains, exposed admin panels, services that were never meant to be public. The more complete your picture, the better your attacks.
The **Pentesting** section is where you build that picture. It's your home base for the "context": the map of assets you're testing, the vulnerabilities you've found, and the attacks that got blocked. As you run tests, it updates in real time. It's also where you work with the IDE and AutoPT.
Three subtabs live here: **Sessions**, **Infrastructure**, and **Overview**.
## Overview
High-level stats about your scope: total assets, how they break down by type, discovery trends over time, and the protection mechanisms found in the environment.
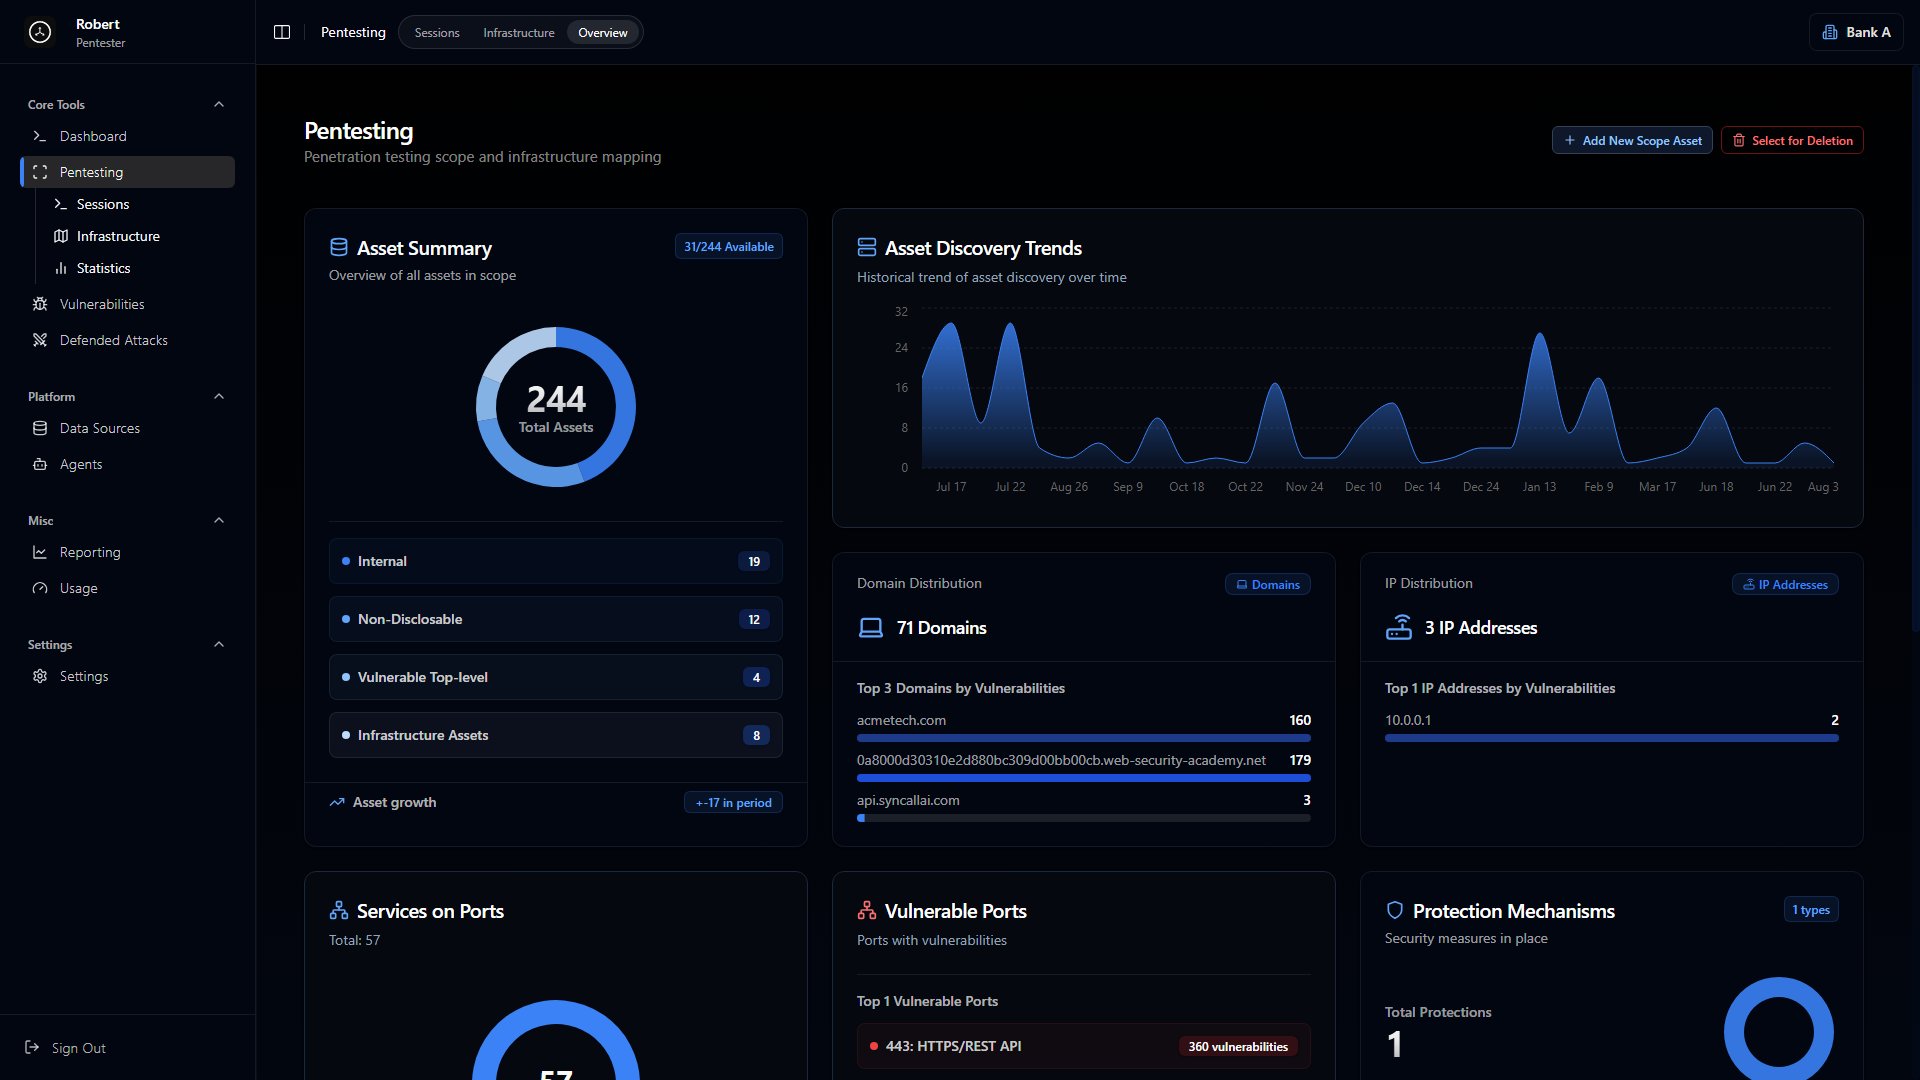 You'll see an **Asset Summary** with the total asset count and the internal / non-disclosable / vulnerable / infrastructure split, an **Asset Discovery Trends** chart, and distributions for domains, IP addresses, services on ports, vulnerable ports, and protections in place.
## Infrastructure
The **Infrastructure** tab visualizes your targets and how they relate to each other. Assets that carry vulnerabilities are flagged, so you can see the shape of the attack surface at a glance.
You'll see an **Asset Summary** with the total asset count and the internal / non-disclosable / vulnerable / infrastructure split, an **Asset Discovery Trends** chart, and distributions for domains, IP addresses, services on ports, vulnerable ports, and protections in place.
## Infrastructure
The **Infrastructure** tab visualizes your targets and how they relate to each other. Assets that carry vulnerabilities are flagged, so you can see the shape of the attack surface at a glance.
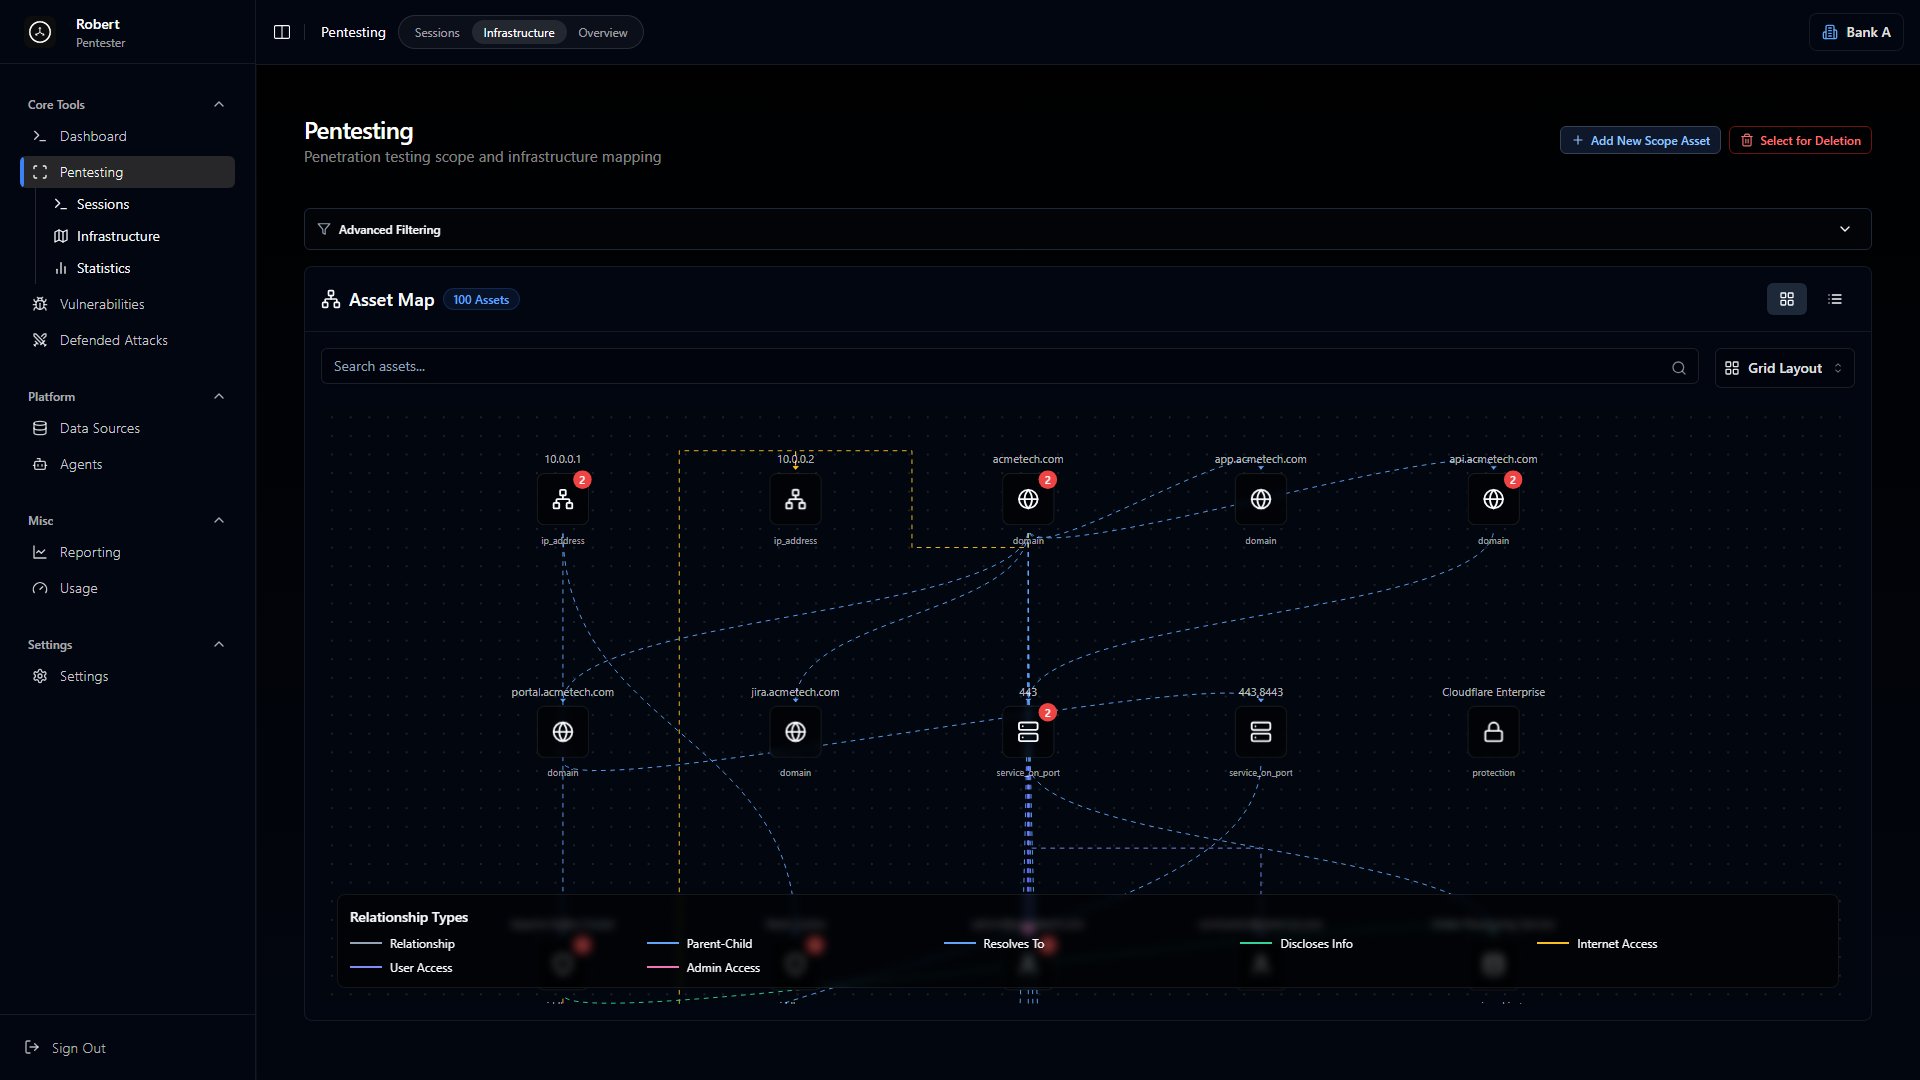 A search bar at the top filters the map, and **Advanced Filtering** narrows it further. The layout selector in the top-right switches between graph layouts - Grid, Hierarchical Tree, and Sankey/Flow - or a plain list view. The legend at the bottom explains the relationship types: parent/child, user access, admin access, resolves-to, and discloses-info.
To add a target, click **Add New Scope Asset** on the right. You can add:
* Domains (e.g., `example.com`)
* IP addresses (e.g., `10.0.0.1`)
* Services (e.g., `http`, `https`, `ssh`, `ftp`)
* People (e.g., security analyst, developer) - they can be targets of social engineering attacks
* Objects (e.g., files, API endpoints, subfolders)
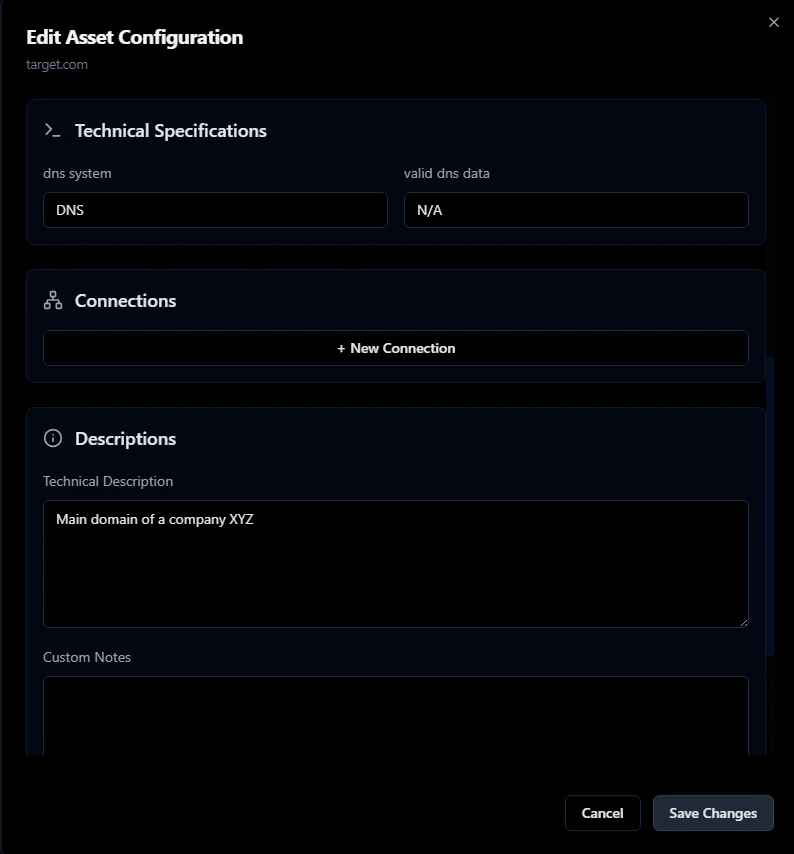
Fill in the other fields too: DNS system, relationships between assets, screenshots, etc.
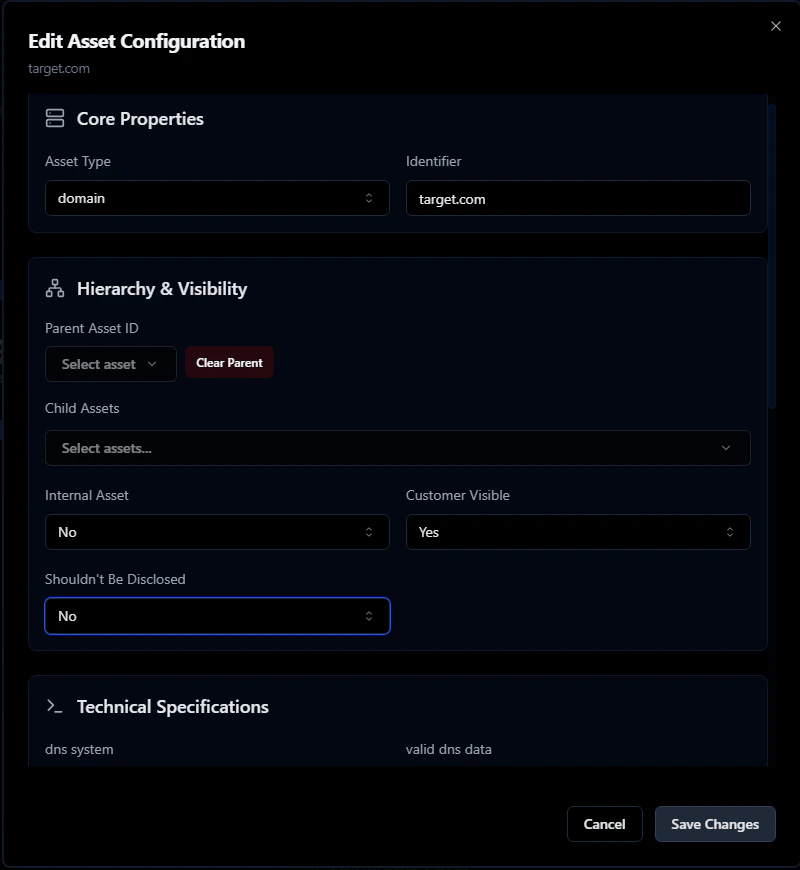
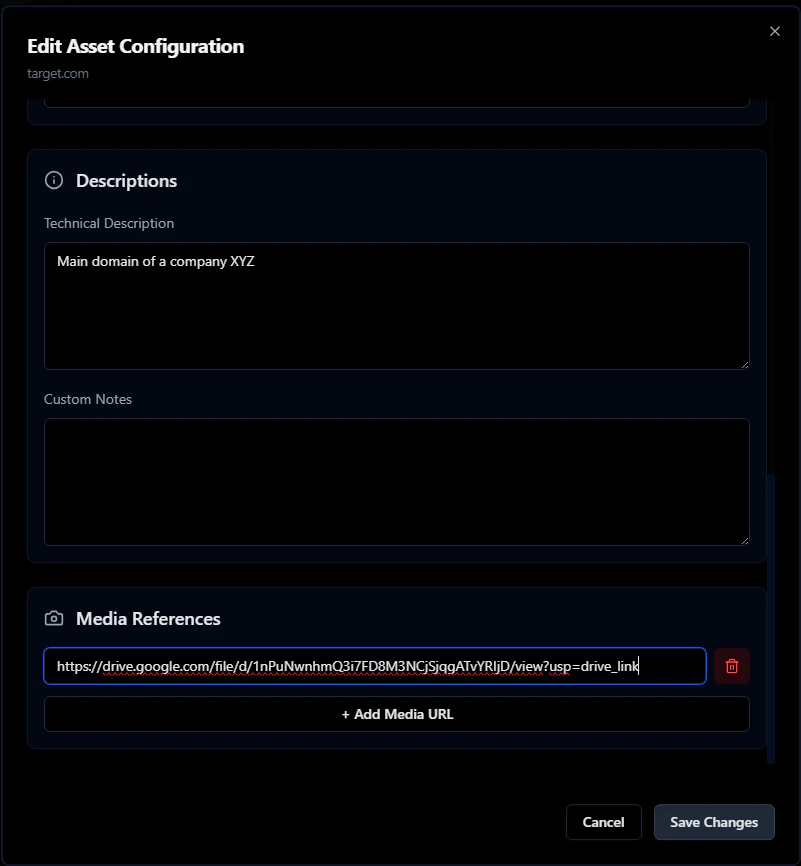
As an example, here's how to add two assets: the domain `target.com` and an HTTP service on port 443. Start with the domain:
A search bar at the top filters the map, and **Advanced Filtering** narrows it further. The layout selector in the top-right switches between graph layouts - Grid, Hierarchical Tree, and Sankey/Flow - or a plain list view. The legend at the bottom explains the relationship types: parent/child, user access, admin access, resolves-to, and discloses-info.
To add a target, click **Add New Scope Asset** on the right. You can add:
* Domains (e.g., `example.com`)
* IP addresses (e.g., `10.0.0.1`)
* Services (e.g., `http`, `https`, `ssh`, `ftp`)
* People (e.g., security analyst, developer) - they can be targets of social engineering attacks
* Objects (e.g., files, API endpoints, subfolders)
Fill in the other fields too: DNS system, relationships between assets, screenshots, etc.
As an example, here's how to add two assets: the domain `target.com` and an HTTP service on port 443. Start with the domain:
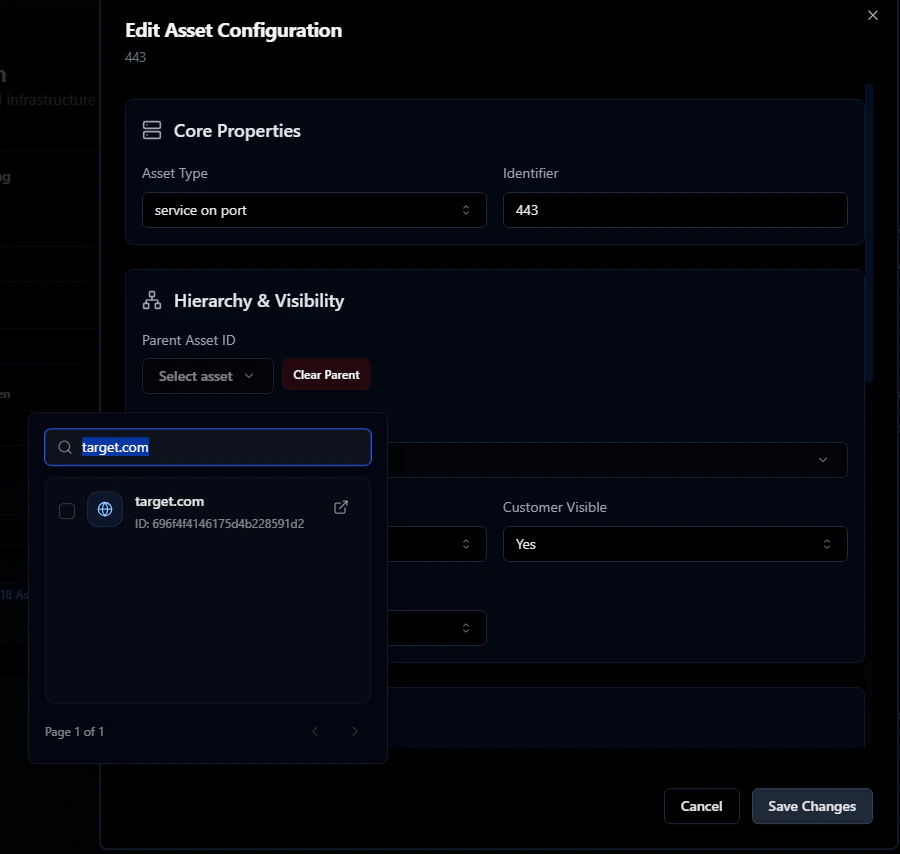
 Now add the HTTP service on port 443. Set `target.com` as the parent - this links the service to its domain.
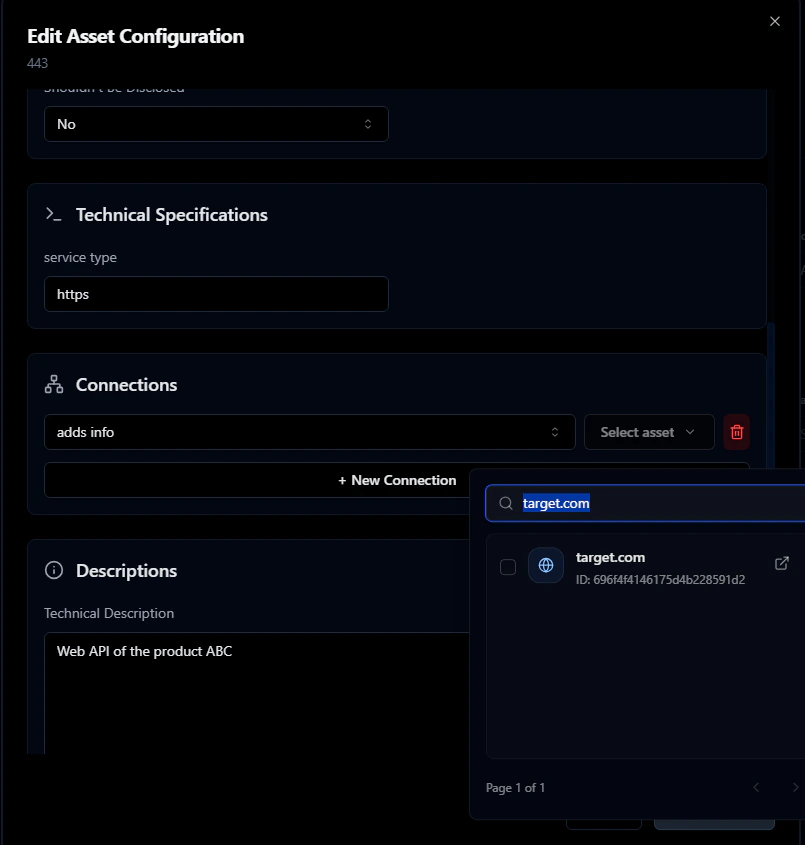
 You can also define relationships between assets. For example, an HTTPS service might expose debugging info about its parent domain. Use "add info link" to capture these connections.
 ## Sessions
The **Sessions** tab is the IDE - where you work with AutoPT and Codegen to run code against your targets.
## Sessions
The **Sessions** tab is the IDE - where you work with AutoPT and Codegen to run code against your targets.
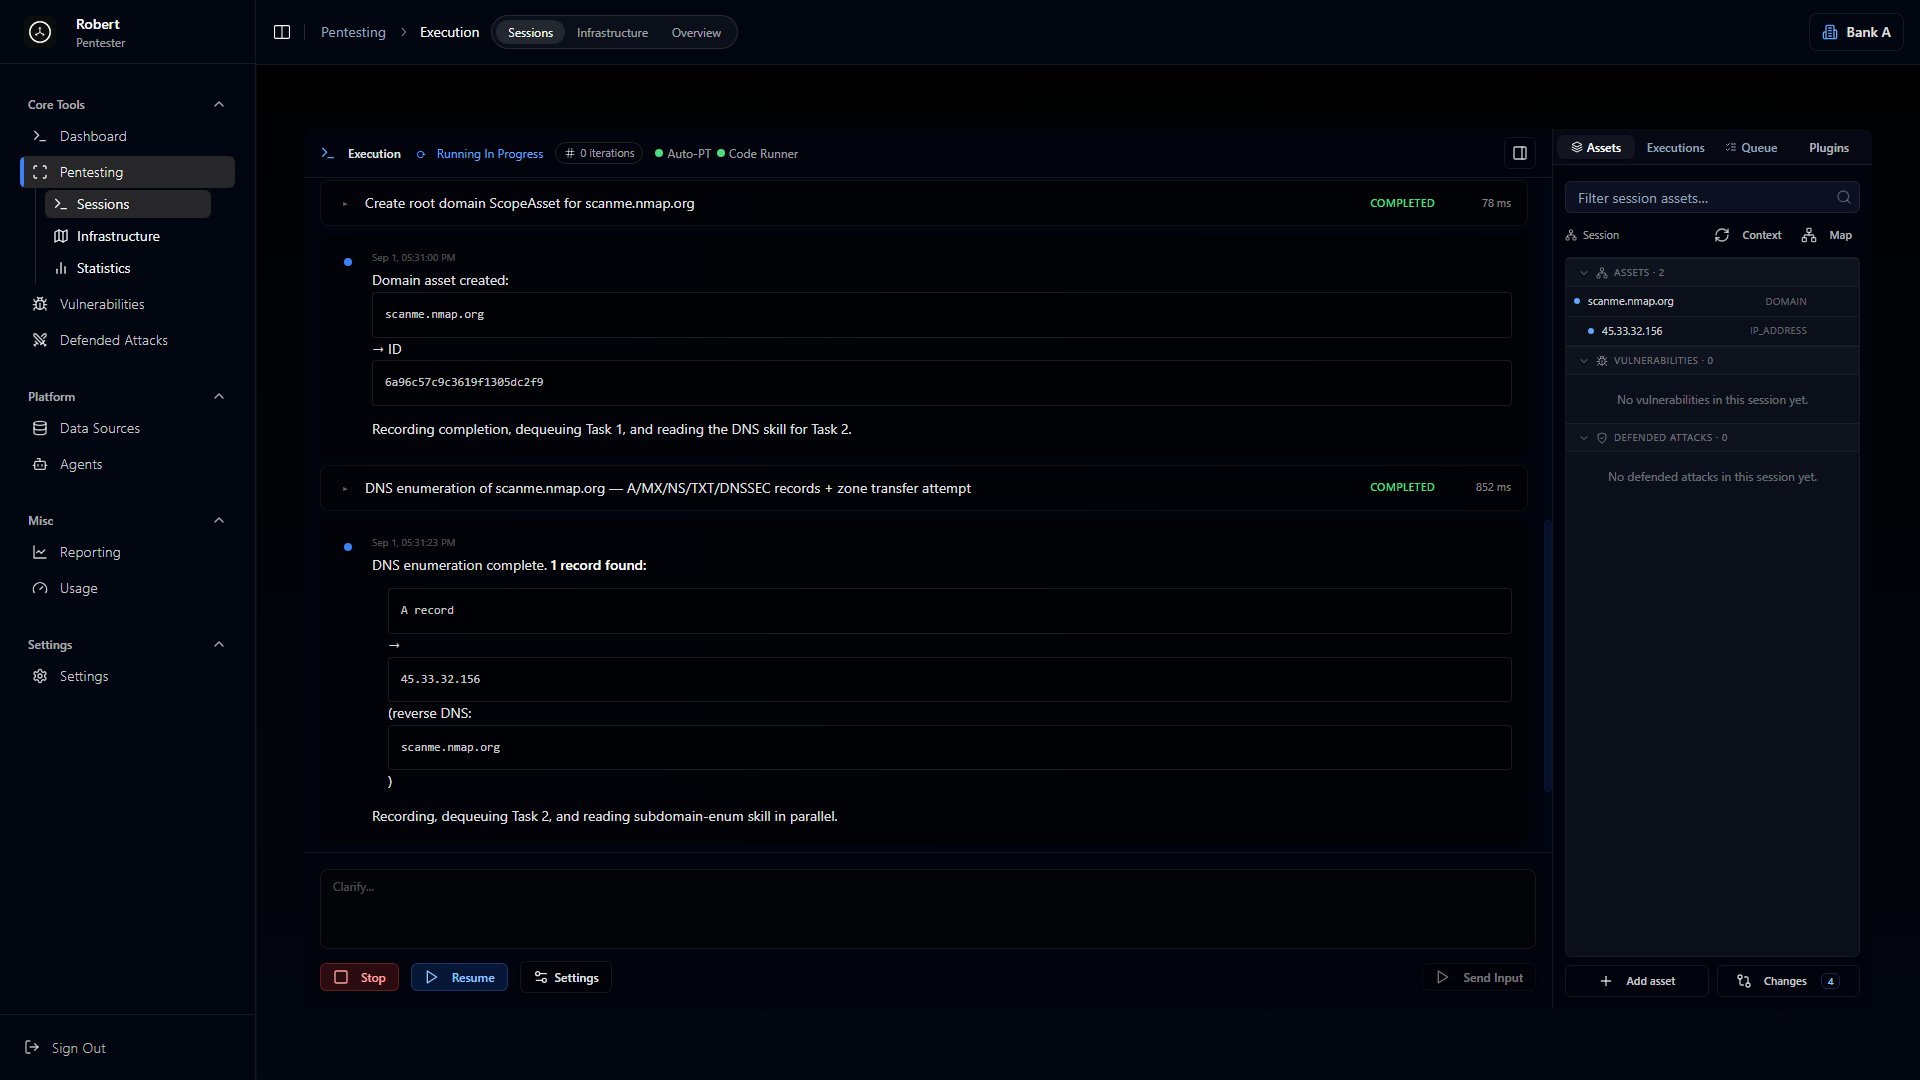 The right panel shows your available assets; click them to add to a prompt. The **Executions** tab lists every previous run - click one to reopen it and see its details.
Running a session end to end (from a template or a custom prompt), steering AutoPT while it works, and applying its findings back to your scope are all covered in the [Starting your first pentest](/en/starting-first-pentest) guide.
The right panel shows your available assets; click them to add to a prompt. The **Executions** tab lists every previous run - click one to reopen it and see its details.
Running a session end to end (from a template or a custom prompt), steering AutoPT while it works, and applying its findings back to your scope are all covered in the [Starting your first pentest](/en/starting-first-pentest) guide.